How to Replace a Portafilter Handle at Home
A loose, chipped, or plain factory handle can make an otherwise excellent portafilter feel wrong in the hand. Knowing how to replace a portafilter handle lets you refresh a worn part, improve comfort during puck prep, or give your espresso machine a more personal finish without replacing the entire portafilter.
For most home espresso machines, this is a straightforward job. The part that matters is not the wood species or color first. It is the connection between the handle and the portafilter head. Confirm that fitment before ordering, and a replacement can turn into one of the most satisfying upgrades on your coffee bar.
Before You Replace a Portafilter Handle, Check the Connection
Most replaceable portafilter handles use a threaded metal stem. The handle screws onto that stem with standard right-hand threads, meaning it loosens counterclockwise and tightens clockwise. This construction is common across many prosumer and home espresso portafilters, including bottomless styles.
Still, do not assume every handle works this way. Some entry-level portafilters have molded handles that are permanently attached. Others use a hidden set screw, adhesive, or a manufacturer-specific fitting. If the handle does not move with reasonable hand pressure, stop before reaching for a wrench. Forcing it can twist the stem, damage the portafilter body, or leave marks on a part that is otherwise perfectly usable.
Look closely where the handle meets the metal head. A visible threaded section or a small gap at the joint is a good sign that the handle is removable. If you have the original product details, they can help, but a direct measurement is more reliable than a broad brand name alone. Breville, Gaggia, ECM, Lelit, Rocket, La Marzocco, Profitec, and other makers have used different portafilter designs across model generations.
What You Need for the Job
You only need a clean work surface, a soft towel, and usually a pair of calipers for measuring the stem. A strap wrench can help with a stubborn handle, but use it carefully and protect the finish with the towel. Avoid pliers on exposed metal whenever possible.
A small brush and a dry cloth are useful for cleaning the stem before installation. If old thread sealant, coffee oils, or adhesive residue is present, remove it gently. The new handle should thread on smoothly by hand. It should never require thread tape, glue, or excessive force to make it fit.
How to Replace a Portafilter Handle Step by Step
Let the portafilter cool and remove the basket if needed
Work with a cool, dry portafilter. If you have just pulled a shot, rinse and dry it first. Removing the filter basket is optional, but it makes the portafilter lighter and prevents the basket from dropping out while you work. Keep the basket spring in place unless you are also servicing it.
Place the portafilter head on a folded towel with the handle extending over the edge of the counter. This supports the metal body and protects the ears, spouts, and finish from scratches.
Unscrew the old handle by hand
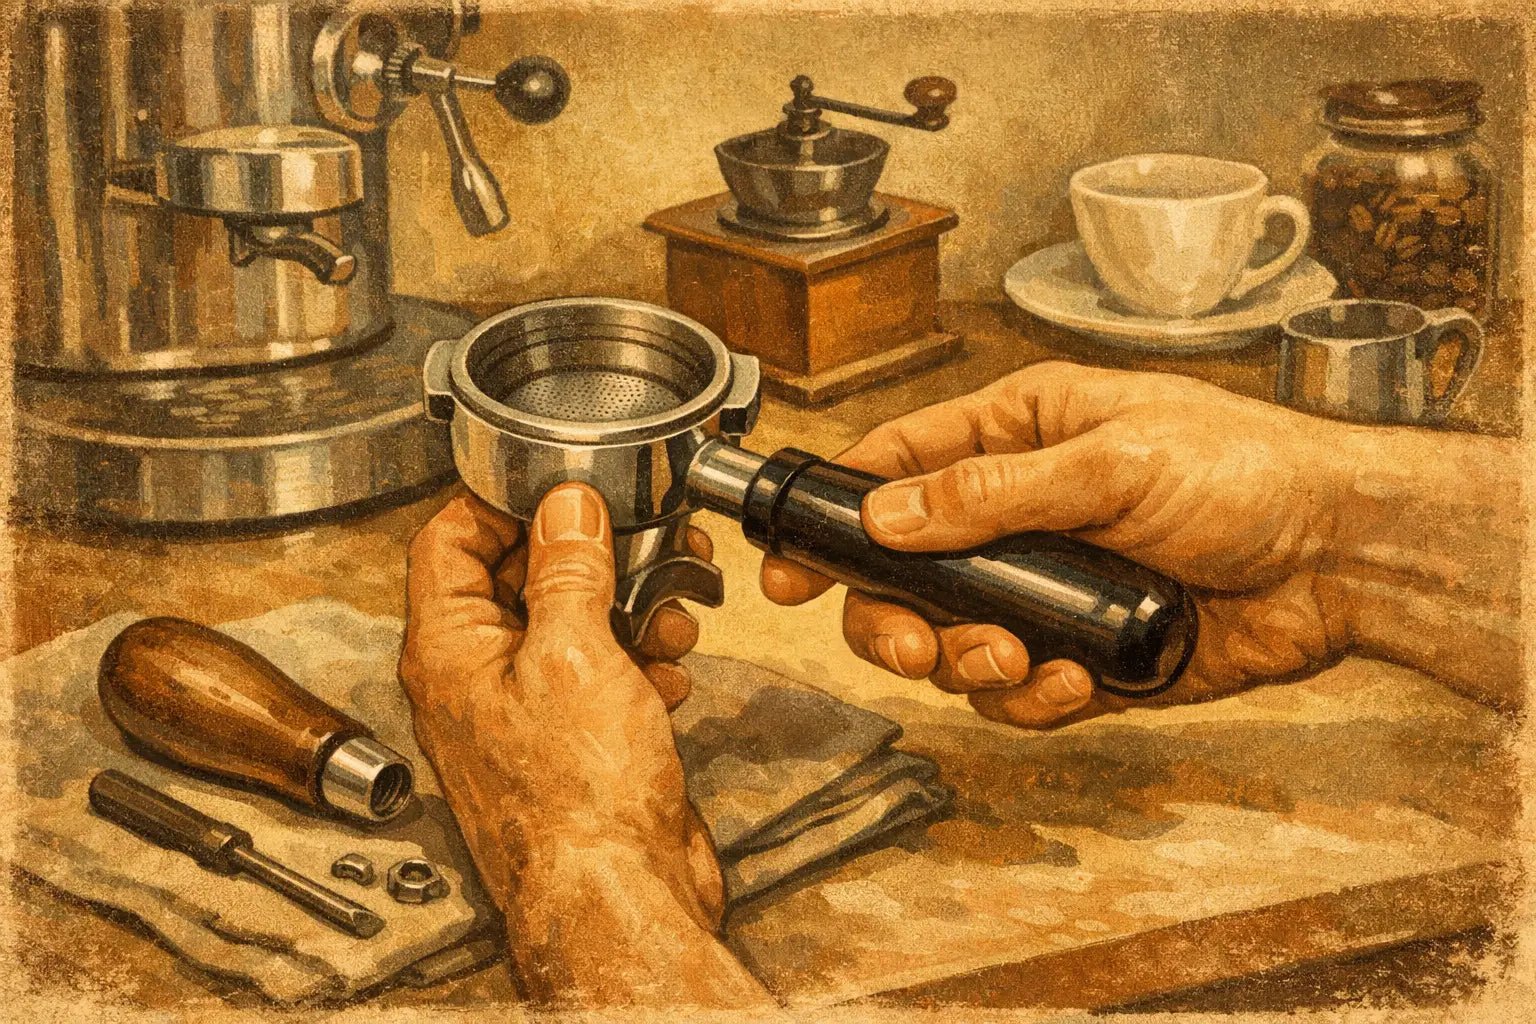
Hold the portafilter head firmly, then turn the handle counterclockwise. Start with steady, even pressure rather than a quick jerk. A handle that has been installed for years may resist because of coffee oils, moisture, or a tight factory fit.
If it will not move, wrap the handle in a towel and use a strap wrench for added grip. Keep the force close to the connection point. Do not clamp the portafilter ears in a vise, and do not use heat around a wooden or plastic handle. A little patience is safer than creating a bent stem or a damaged chrome surface.
Once it loosens, continue turning by hand until the handle comes off. Inspect the exposed threads. They should be clean, even, and free of cross-threading or stripped sections.
Measure the stem before choosing a replacement
This is the step that prevents most compatibility mistakes. Use calipers to measure the outside diameter of the male threaded stem. Then check the thread pitch, or compare the stem to the specifications supplied for the replacement handle.
Thread diameter alone is not enough. Two stems can look nearly identical but use different pitches, and a handle with the wrong thread may start to screw on before binding after a turn or two. Never force that situation. Back the handle off immediately and recheck the fitment.
Also measure the exposed thread length. A handle can share the correct thread size yet bottom out too early because the internal thread depth is too shallow. For a clean installation, the handle should seat firmly against the portafilter head without leaving a loose gap or running out of threads.
Clean and test-fit the new handle
Wipe the stem clean and dry. Thread the new handle on slowly by hand, keeping it straight from the first turn. A properly matched handle should engage easily and turn smoothly. If it feels gritty, crooked, or unusually tight, remove it and inspect both sets of threads.
Once the handle reaches the portafilter head, align it in its natural working position. On most portafilters, the handle should sit straight and feel secure when you lock the portafilter into the group head. Hand-tightening is normally enough. Over-tightening can make future removal difficult and may stress a wood handle's threaded insert.
Reassemble and check your workflow
Return the basket if you removed it, then lock the portafilter into your machine without coffee. Confirm that the new handle clears your machine, counter, scale, knock box, and nearby accessories. This matters especially with longer handles or angled bottomless portafilter designs.
Pull a test shot when you are ready. The replacement handle does not change extraction on its own, but it should make dosing, distributing, tamping, and locking in more comfortable. If the handle shifts or loosens after the first few uses, remove it, clean the threads, and reinstall it snugly by hand.
Fitment Matters More Than Brand Name
A handle listed for a particular espresso machine may fit only a specific OEM portafilter or a certain production generation. Aftermarket portafilters can use a different stem even when they are sold for the same machine. This is why photos, thread measurements, and portafilter details are more useful than relying on the machine badge alone.
When ordering a handcrafted replacement, provide the machine model, whether the portafilter is original or aftermarket, and clear photos of the handle connection. Include the stem diameter, thread pitch if known, and exposed thread length. That information gives a maker the best chance to match the part correctly, particularly for custom work.
NepoCoffee focuses on this practical side of customization: a beautiful wooden handle only earns its place on your bar when it fits the machine correctly and holds up to daily use.
Choosing a Replacement Handle That Feels Right
Wood changes the feel of a portafilter more than many people expect. It stays more comfortable than bare metal in a busy workflow, adds visual warmth beside stainless equipment, and can match other pieces such as a tamper handle, steam knob, grinder tray, or bean hopper lid.
Shape deserves as much attention as species. A slimmer profile may suit smaller hands and a lighter 54 mm portafilter. A fuller, longer handle gives more leverage and a more substantial feel with heavier 58 mm commercial-style portafilters. There is no universal best option. It depends on whether you value a compact setup, a classic café look, or a more ergonomic grip for several milk drinks each morning.
For wood, remember that espresso equipment lives around heat, steam, and water. Wipe splashes promptly and avoid soaking the handle. A quality finish helps protect the material, but wood is not maintenance-free. Periodic care preserves its feel and color far better than treating it like dishwasher-safe plastic.
Troubleshooting a Handle That Will Not Fit
If a new handle starts but stops after one or two turns, the thread pitch is likely wrong or the threads are not aligned. Do not try to muscle it through. Cross-threading can ruin both the handle insert and the portafilter stem.
If the handle screws all the way on but remains loose, the internal thread depth or shoulder position may not match the portafilter. A washer is not always a good fix because it can leave the handle improperly supported. If it bottoms out before reaching the correct orientation, a maker may be able to adjust the internal depth on a custom piece, but the solution depends on the design.
A handle that repeatedly loosens in normal use can indicate dirty threads, a worn stem, or a poor fit. Clean the connection first. If the stem itself is damaged, replacing the handle alone will not solve the issue, and a new portafilter body may be the safer option.
A well-fitted replacement handle is a small part with a daily payoff. Take a few extra minutes to verify the connection, install it gently, and choose a shape and finish you will enjoy reaching for every morning.