How to Use a WDT Tool for Better Espresso
A great espresso recipe can still produce a frustrating shot when the puck starts uneven. You may see a fast stream on one side of the basket, sudden blonding, or a shot that tastes thin and sharp despite a careful grind setting. Learning how to use a WDT tool addresses one common cause: clumped coffee and uneven density in the portafilter basket.
WDT stands for Weiss Distribution Technique. It is a simple step, but it rewards a light hand and a repeatable routine. The goal is not to stir coffee aggressively. It is to gently separate clumps and level the grounds so water meets a more uniform puck.
What a WDT Tool Does in Your Espresso Workflow
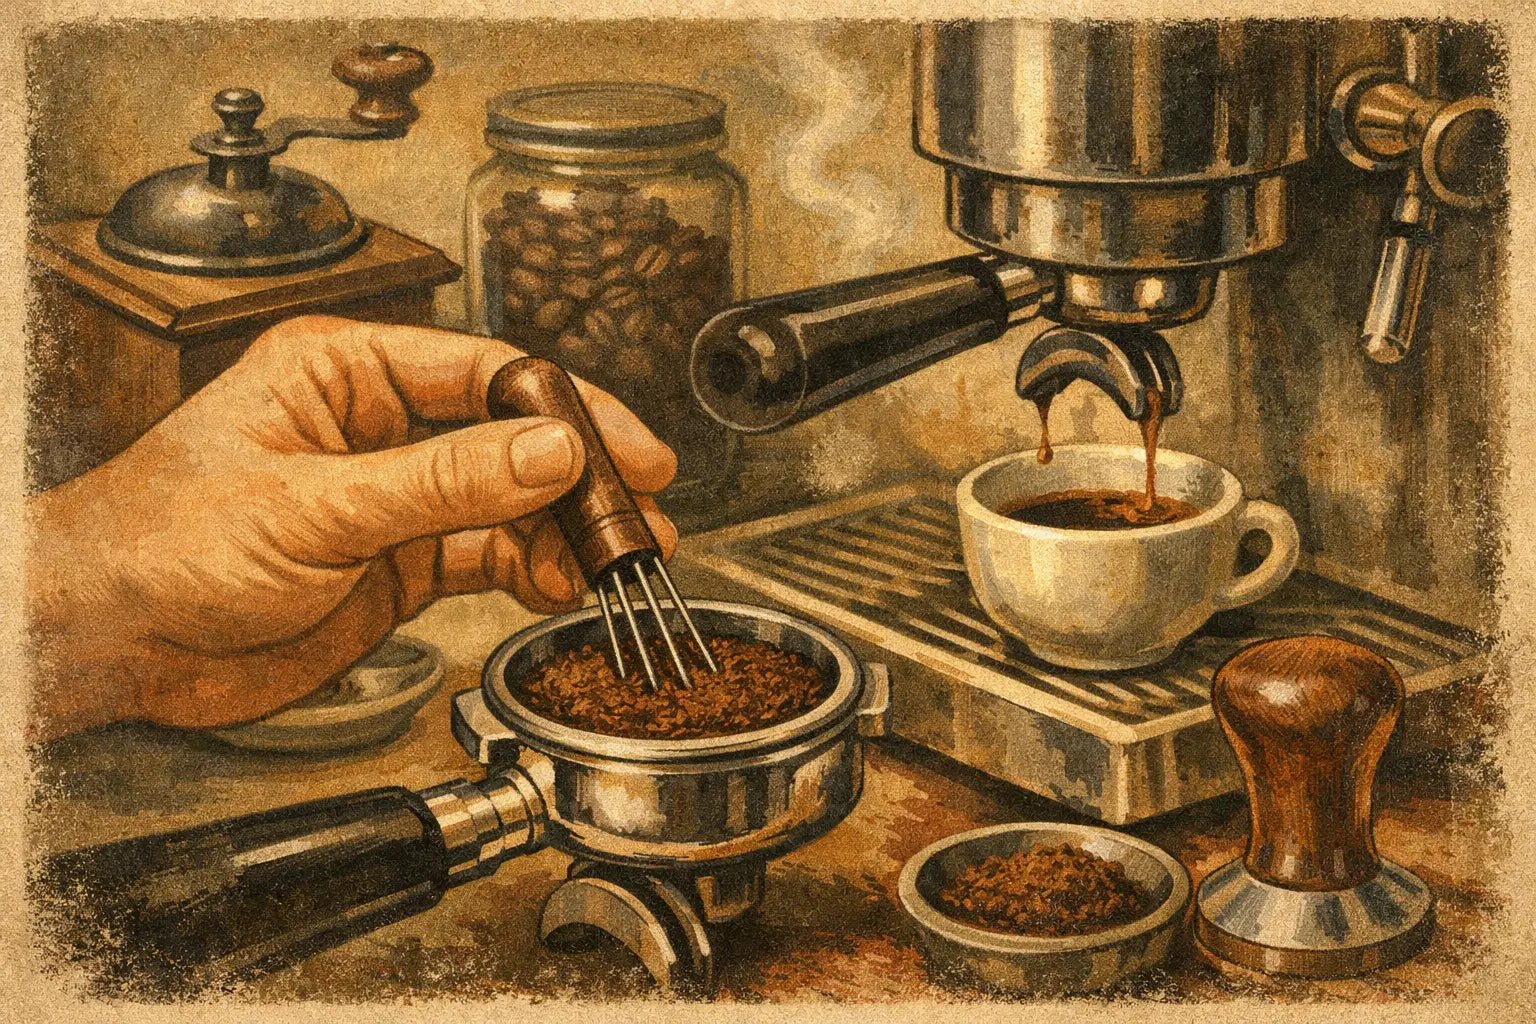
A WDT tool uses several thin needles to move through freshly ground coffee. Static, humidity, grinder retention, and fine espresso settings can all cause grounds to form small clumps. Some clumps are obvious; others are hidden below the surface and show up only as uneven extraction.
By teasing those clumps apart before tamping, you reduce dense pockets and airy gaps in the basket. That gives your puck a better chance of resisting water evenly. It will not fix stale coffee, a badly mismatched grinder, or an inaccurate dose. It can, however, make a well-built home espresso workflow more consistent from shot to shot.
WDT tends to make the biggest difference with fine grinds, medium and light roasts, grinders that produce static, and baskets with a deeper coffee bed. With a very fluffy, low-static grind, the improvement may be subtle. That is normal. The purpose is repeatability, not adding another ritual for its own sake.
How to Use a WDT Tool Step by Step
Start with a clean, dry portafilter basket. Dose your coffee into the basket, ideally with a dosing funnel in place. A funnel is especially useful when working with a full 18- to 22-gram basket, since the needles need room to move without sweeping grounds over the edge.
1. Break up the surface clumps
Hold the portafilter steady on a tamping mat or countertop. Insert the WDT needles near the top of the coffee bed and make small, gentle circles. Work around the outer edge first, where grounds often collect against the basket wall.
Do not press the needles down hard or scrape them repeatedly along the basket. The motion should be loose and controlled, like combing through the grounds rather than whisking them. If you can see a clump, pass through it once or twice until it separates.
2. Reach the bottom of the basket
After the top layer looks even, let the needles reach close to the basket floor. Use small circles or a slow spiral from the outside toward the center. This is the part many people skip, but distribution problems often begin lower in the puck, especially when a grinder drops coffee into one area of the basket.
Keep the tool moving. Sitting in one spot and digging can create a crater or push coffee away from that section. You want to distribute grounds across the whole depth, not carve channels into them.
3. Level the coffee bed lightly
As you lift the WDT tool out, make a final shallow pass across the surface. The bed should look fluffy and broadly level, with no obvious mounds, voids, or clumps. There is no need to polish it perfectly with the needles.
If the surface is visibly uneven after WDT, use a gentle tap on the portafilter or a light leveling tool. One controlled tap is usually enough. Repeated tapping can stratify particles by size, which may work against the even distribution you just created.
4. Tamp straight and consistently
Remove the dosing funnel carefully so you do not disturb the coffee. Tamp level with steady pressure, then lock in and pull the shot as usual. Your tamp should compress the puck into an even surface, not compensate for an uneven bed with extra force.
Keep the rest of the recipe stable while you evaluate WDT. Use the same dose, grind setting, yield, and brew temperature for several shots. If you change every variable at once, you will not know whether distribution improved the result.
The Right WDT Technique Is Light, Not Aggressive
The most common WDT mistake is overworking the grounds. Large, fast stirring motions can fling fines toward the bottom or edge of the basket, create uneven density, and make the workflow less repeatable. More movement does not automatically mean better distribution.
A useful benchmark is time. For most home espresso baskets, 10 to 20 seconds is enough. If you are spending a full minute mixing coffee, simplify the pattern. A few passes through the upper layer, a few near the bottom, and one light leveling pass will usually do the job.
Needle depth also depends on your dose and basket. For a shallow dose in a large basket, reaching the floor is easy. For a full high-capacity basket, work in layers rather than forcing the needles straight down. The aim is even coverage throughout the bed.
Choosing a WDT Tool That Fits Your Setup
Needle diameter matters. Very fine needles, commonly around 0.25 to 0.4 mm, move through coffee with minimal disruption and are preferred by many espresso enthusiasts. Thicker wires can still break up major clumps, but they may leave larger trails in the coffee bed.
Needle count is more personal. A tool with too few needles can require extra passes; one with many needles may feel more resistant in dense coffee. For most home baristas, a compact tool with several fine, spaced needles is easy to control and fast enough for a daily routine.
Handle comfort is worth considering because WDT is a frequent touchpoint in the workflow. A balanced wood handle adds warmth to an espresso station while giving your fingers a secure grip. NepoCoffee's handcrafted approach is built around those details: accessories should look at home beside premium equipment while doing their job reliably.
Choose a tool that fits your basket size and storage habits, too. If you use a dosing funnel, make sure the needle spread can work comfortably through the funnel opening. Keep a protective cap or stand nearby, since fine needles bend easily when tossed into a drawer.
WDT, Dosing Funnels, and Levelers
WDT works best when the coffee stays in the basket. A dosing funnel makes that easier, particularly with fluffy single-dose grinders or baskets filled close to capacity. It gives you space to distribute without losing grounds, which protects dose accuracy and keeps the counter cleaner.
A leveling tool is optional after WDT, not a replacement for it. Most levelers only shape the top surface. They cannot reach hidden clumps or correct uneven density at the bottom of the basket. Use WDT first, then use a leveler only if it helps you create a consistent surface before tamping.
This order matters: dose, WDT, lightly level if needed, tamp, brew. Adding a hard tap before WDT can compact clumps and make them harder to separate. Tapping after WDT should be minimal and purposeful.
Signs Your WDT Routine Needs Adjustment
If shots suddenly run faster after adding WDT, do not assume the technique failed. Breaking up clumps can reduce resistance, meaning your grinder may now need a slightly finer setting. Dial in again with one small grind adjustment at a time.
If shots run slower or taste harsh, you may be stirring too deeply or too aggressively, especially near the basket walls. Try smaller circles and fewer passes. Watch the espresso as it begins to flow, but judge the change by taste and yield as well. Bottomless-portafilter sprays can point to preparation issues, yet they are not a complete diagnosis on their own.
You should also check the simple variables. A bent needle, a dirty basket, old coffee, an uneven tamp, or a worn grinder burr can create symptoms that look like poor distribution. WDT is one useful control point, not a cure for every extraction problem.
Keep the Tool Clean and Ready
Coffee oils and fine particles can collect around the needle base over time. Brush the tool gently after use and wipe the handle with a soft, dry cloth. Avoid forcing needles against a towel or rinsing a wood handle unnecessarily. If a needle bends, replace it rather than trying to pull it perfectly straight through the coffee bed.
A consistent espresso routine is built from small, repeatable movements. Use your WDT tool gently, keep the rest of the recipe steady, and let the cup tell you whether the change is helping. When the puck is prepared with care, dialing in becomes less of a guessing game and more of the satisfying hands-on craft it should be.