How to Install Flow Control on an E61 Machine
A flow control upgrade changes the feel of an E61 machine before it changes anything in the cup. With a paddle at your fingertips, you can ease water into the puck, soften the start of a light roast, and respond when a shot begins to run too quickly. Knowing how to install flow control correctly matters because the upgrade sits at the heart of the brew group, where fitment, clean threads, and careful reassembly make all the difference.
For most home baristas, this is a manageable project, not a rushed countertop repair. Set aside time, confirm that the kit matches your exact machine, and work only on a cold, depressurized espresso machine.
Confirm Your Machine and Kit Are Compatible
Most aftermarket flow control assemblies are designed for machines with a traditional E61-style group. That includes many popular models from ECM, Profitec, Rocket, Lelit, Bezzera, and similar prosumer brands. But “E61 compatible” is not always enough information to order or install a part confidently.
Manufacturers use different mushroom dimensions, group cap styles, clearance requirements, and paddle configurations. A kit made for one E61 machine may not clear the case, may use different threads, or may need a specific adapter on another. If your machine has a saturated group, a proprietary group design, or an integrated factory flow control system, this installation process may not apply.
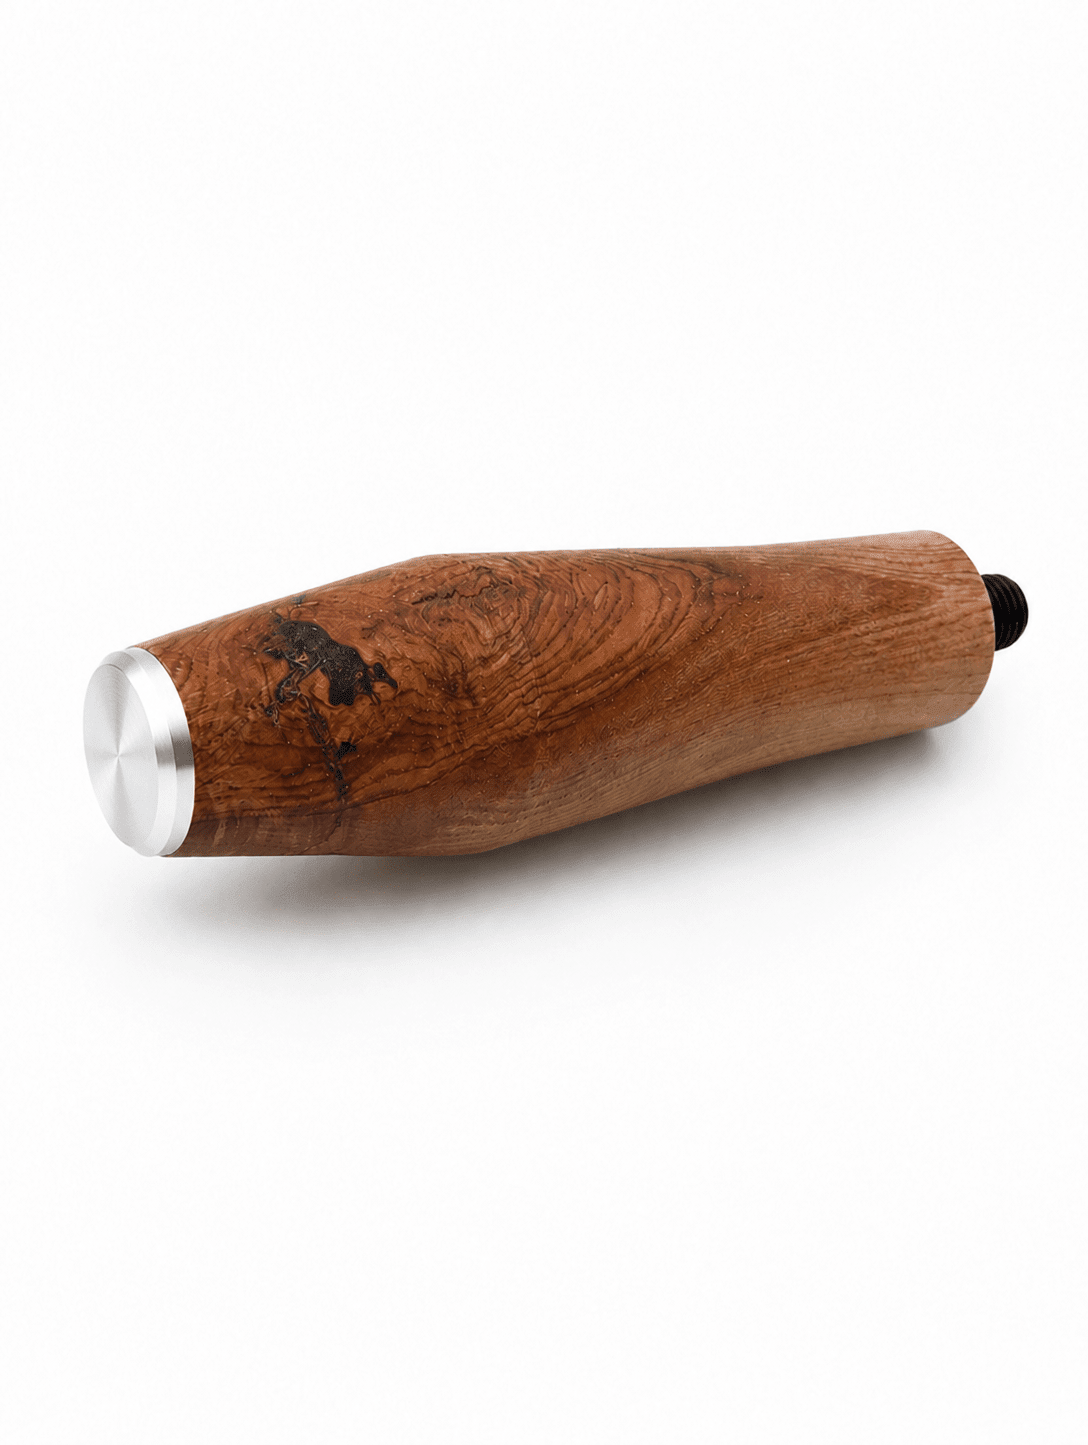
Before opening the box, compare the kit’s listed fitment to your machine’s exact model and version. Check whether the kit includes the valve assembly, paddle or knob, any adapter pieces, replacement seals, and the required wrench size. Custom wood paddles and knobs can be a beautiful finishing touch, but install the functional valve assembly first and make sure it operates freely before fitting the cosmetic piece.
What You Need Before Installing Flow Control
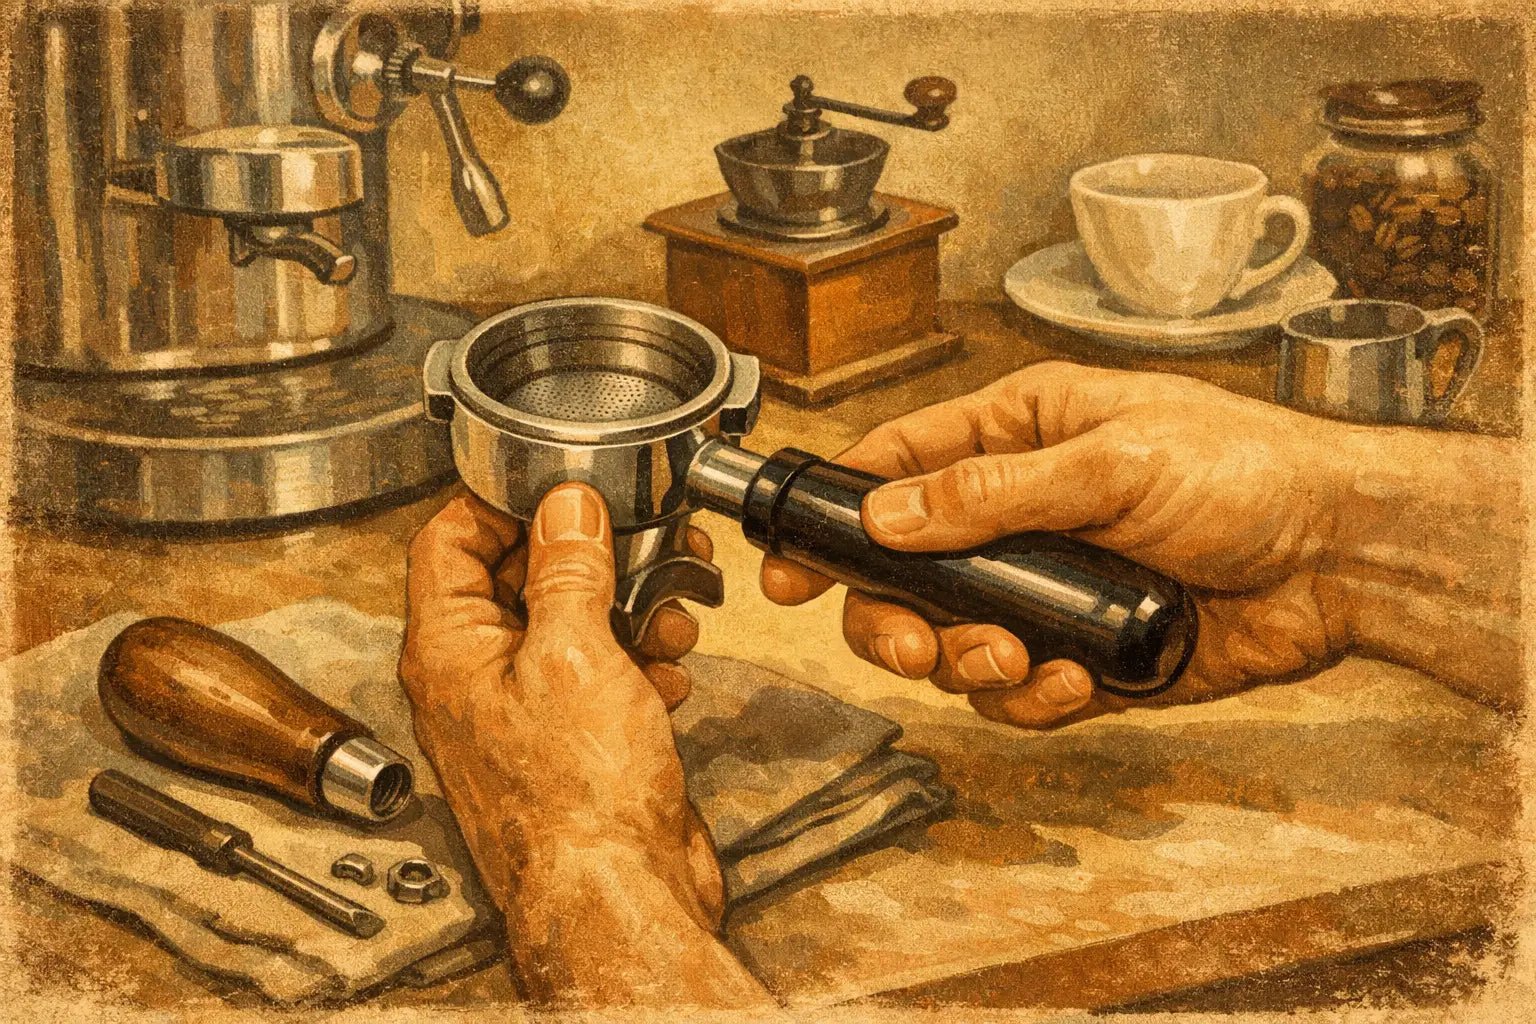
The job itself is simple when the right parts and tools are on the counter. You will generally need the supplied flow control kit, the correct open-end wrench or socket for the existing group cap, a soft towel, and clean food-safe lubricant if the manufacturer calls for it. A small pick can help remove an old seal, though it should never be used aggressively around brass threads or sealing surfaces.
Put a towel over the drip tray and work area. Brass parts can be slippery, and a dropped cap or paddle can scratch a polished stainless case. Take a few photos of the original setup before removal. They are useful if your machine has an unusual spacer, washer, or orientation that needs to go back in the same place.
Never begin with the machine warm. Turn it off, unplug it, let it cool completely, and release any remaining boiler pressure through the steam wand. Raise and lower the brew lever briefly after the machine is cold to confirm there is no pressure held at the group. Hot water and steam can remain in an espresso machine longer than expected.
How to Install Flow Control Step by Step
Remove the original group cap or mushroom assembly
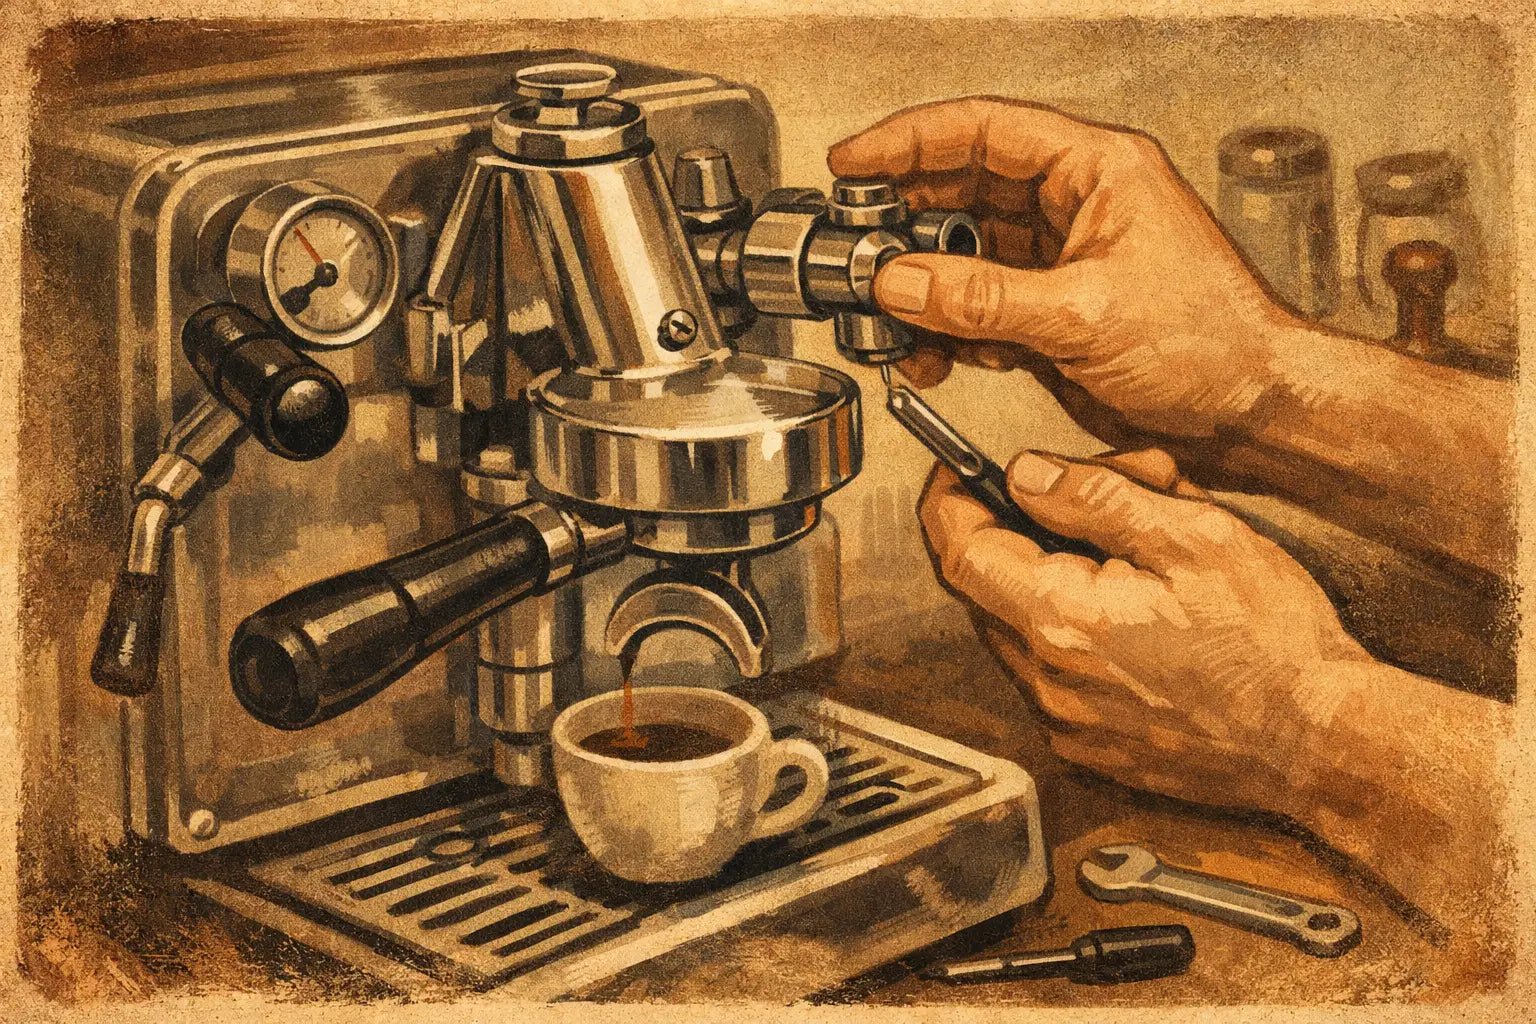
Locate the large cap at the top of the E61 group. On many machines, this is the brass mushroom assembly beneath a chrome cap or directly beneath the top hardware. Remove any decorative cap, paddle hardware, or retaining pieces according to your machine and kit instructions.
Use the correctly sized wrench and apply steady pressure. Do not use pliers, adjustable tools with loose jaws, or sudden force. They can round the fitting and leave marks on finished parts. If the component resists, double-check that all visible retaining hardware has been removed rather than forcing it loose.
As the original assembly comes out, keep it upright and pay attention to its parts. Depending on the machine, you may find a spring, jet, seal, or small internal component that must remain in place or transfer to the new assembly. Your flow control kit instructions should identify exactly what is reused.
Inspect and clean the sealing area
With the original assembly removed, inspect the group opening and threads. Wipe away old coffee residue, mineral scale, or loose seal material with a clean cloth. The goal is not to polish the group aggressively. You simply want a clean surface so the new assembly can seat properly.
If the old gasket looks flattened, cracked, or brittle, replace it with the correct size for the kit. Reusing a worn seal can cause a small leak that looks like an installation problem but is really just tired rubber. Avoid adding thread tape unless the flow control manufacturer specifically instructs you to use it. These assemblies commonly seal with a gasket or O-ring, not tape on the threads.
Install the new valve assembly by hand first
Thread the flow control body into the group by hand. This is the most important part of the installation. It should turn smoothly for several rotations. If it catches immediately, stop, remove it, and inspect the alignment. Cross-threading brass is expensive and completely avoidable.
Once the assembly is hand-threaded and seated, use the recommended wrench to tighten it. Firm is enough. Overtightening can crush a gasket, distort a seal, or make future servicing unnecessarily difficult. If your kit provides a torque specification, follow it. If it does not, tighten only until the assembly is secure and properly oriented.
Pay attention to paddle position. On many installations, the paddle should sit comfortably at the front or side of the machine with enough clearance from the case and cup rail. Some kits allow the final orientation to be adjusted before the last small tightening movement.
Fit the paddle, knob, or handle
Attach the paddle or knob only after the valve body is secure. Confirm that it moves from fully open to fully closed without rubbing the machine. A handcrafted wood paddle should feel solid but not strained against its mounting screw. Tighten the hardware carefully, especially when working with wood, which can be marked by overtightened set screws.
The best setup is both functional and comfortable. If you prefer a different paddle direction, check whether your kit allows safe repositioning. Do not modify a valve stem, drill mounting hardware, or force a handle onto a shaft that does not match. A custom part should be made for the correct valve system and machine clearance.
Test the Installation Before Pulling a Shot
Refill the reservoir if needed, power on the machine, and allow it to reach normal operating temperature. Before inserting a portafilter, inspect the top of the group for any seepage as the machine heats. A slow drip around the new assembly often points to a pinched, missing, or damaged seal.
With the paddle fully open, briefly activate the brew lever and watch for normal water flow from the group. Then close the paddle gradually. The water should reduce smoothly and stop or nearly stop at the closed position, depending on the valve design. If the paddle feels gritty, binds, leaks, or has no effect on flow, turn off the machine and revisit the installation before brewing.
After the first few shots, inspect the assembly again. Heat cycles can reveal a minor seal issue that was not visible when the machine was cold. A quick check now protects the group and keeps a small adjustment from becoming a messy repair.
Dial In Your First Flow-Controlled Shot
Flow control does not automatically make every espresso sweeter. It gives you another variable, and that means your grinder setting, dose, and puck prep still matter. Start with your usual recipe so you have a familiar baseline.
For a first test, begin with the paddle partially closed rather than fully open. Let the puck saturate gently until you see the first drops at the bottom of the basket, then open the flow gradually to reach your normal espresso stream. Toward the end of the shot, you can reduce flow again if the stream begins to blond quickly.
Light roasts and fresh coffees often benefit from a longer, gentler preinfusion. Darker roasts may taste better with a simpler profile and less restriction. If a shot stalls, do not assume the valve is the problem. First check your grind size and puck preparation. Flow control can expose an overly fine grind or uneven distribution more clearly than a standard full-flow shot.
Keep the Valve Working Like New
The valve needs the same attention you give the rest of the brew group. Wipe splashes from the paddle and group after use, backflush according to your machine manufacturer’s schedule, and inspect the top assembly during regular maintenance. Mineral-heavy water may require more frequent cleaning because scale can affect smooth movement and sealing.
If you remove the assembly later for service, keep track of every internal part and replace seals with the correct type. A flow control upgrade is a precision espresso component, not a place for improvised hardware-store substitutions.
Installed with patience, flow control turns an E61 machine into a more expressive brewing tool. Start with small paddle adjustments, take notes on the coffees you know well, and let the machine teach you where a little gentler water makes the shot shine.