How to Adjust Espresso Flow Control at Home
A flow-control paddle can make an espresso machine feel like a different machine. A light touch at the start can help a coffee bed settle evenly; a gradual close near the end can keep a fast, blonding shot from turning thin and harsh. But to adjust espresso flow control well, you need more than a favorite paddle position. You need to read what is happening in the cup, then make one deliberate change at a time.
For home baristas with an E61-style flow-control device or a machine with adjustable brew-water flow, the goal is not to create a dramatic pressure profile on every shot. It is to give difficult coffees, fresh coffees, and lighter roasts the water delivery they need while keeping your workflow repeatable.
What espresso flow control actually changes
Flow control restricts or opens the path of water entering the group head. On many machines, turning the paddle or knob changes how quickly water reaches the puck. That affects pressure development, saturation, and the rate at which espresso leaves the basket.
Flow and pressure are related, but they are not the same thing. A fully open valve allows the machine to supply water freely. If the puck resists that water, pressure rises. A partially closed valve limits incoming water, so pressure may rise more slowly or settle at a lower level even with the same coffee dose and grind.
That distinction matters because the pressure gauge is only one clue. A shot can show modest pressure while extracting beautifully, or show 9 bar while channeling and tasting hollow. Watch the stream, taste the result, and use the gauge to understand the pattern rather than to chase a single number.
Start with a dialed-in baseline
Do not use flow control to rescue a fundamentally undialed shot. Begin with a conventional recipe: a consistent dose, a known yield, a reasonable brew temperature, and a grind setting that produces an even extraction when the valve is fully open.
For example, you might start with 18 grams in and 36 grams out. If that recipe reaches yield in 18 seconds and tastes sour, refine the grind or ratio before building a profile around it. If it runs for 45 seconds, drips unevenly, and tastes dry, the puck preparation or grind likely needs attention first.
Once the baseline is close, flow control becomes a precise tool. It can soften the first contact with the puck, extend a gentle preinfusion, or reduce water delivery as the puck weakens late in the shot. Keep your dose, distribution, tamp, and basket the same while testing. Changing every variable at once makes it nearly impossible to learn what the paddle did.
Check your machine before you adjust
Not every espresso machine uses flow control in the same way. An E61 machine fitted with a needle-valve device behaves differently from a machine with programmable preinfusion, a pressure-profiling system, or a paddle that controls a different valve arrangement. Confirm that the assembly is made for your specific group and that it is installed correctly.
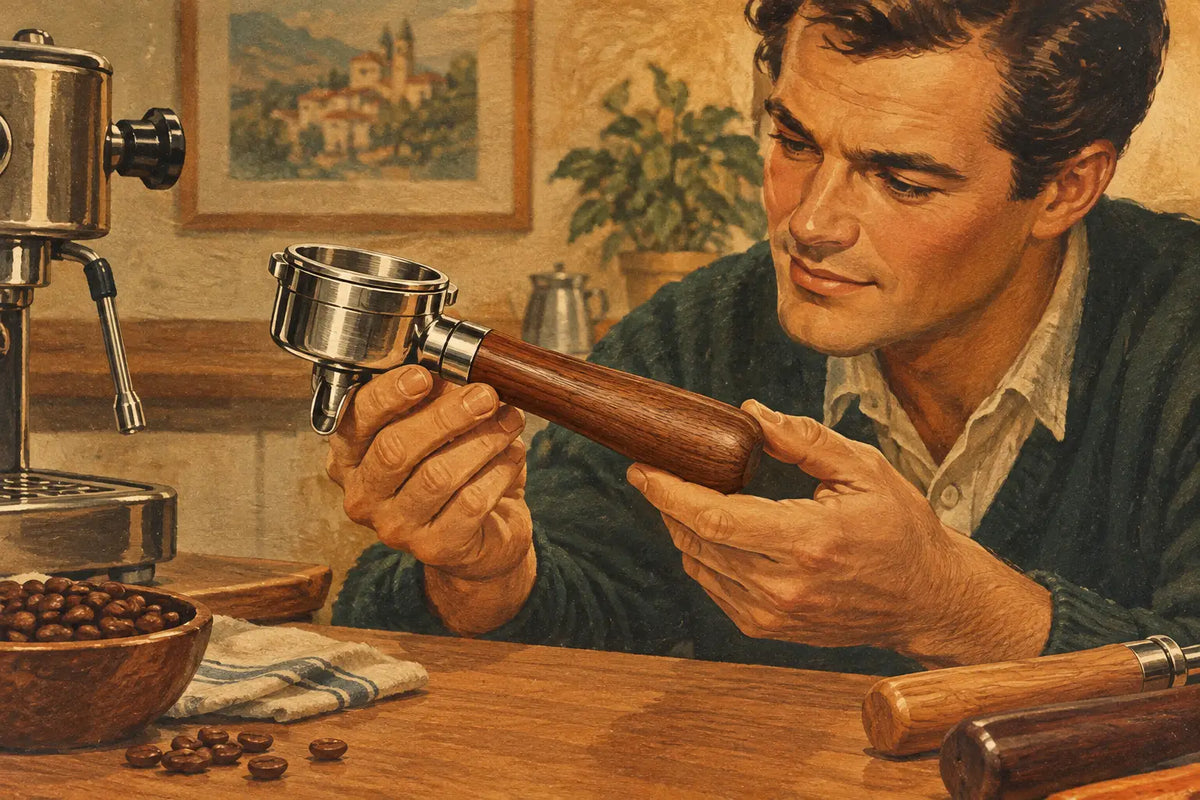
Also remember that a new wood paddle or custom flow-control knob improves grip and the feel of your workflow, but it does not alter the valve’s mechanical range. Fitment matters. A part designed for an ECM, Rocket, Profitec, Lelit, or another specific machine should match that machine’s hardware rather than being forced into place.
A practical way to adjust espresso flow control
The easiest first profile is a gentle start, full flow through the middle, and a gradual reduction near the end. It is simple to repeat and gives you clear visual feedback.
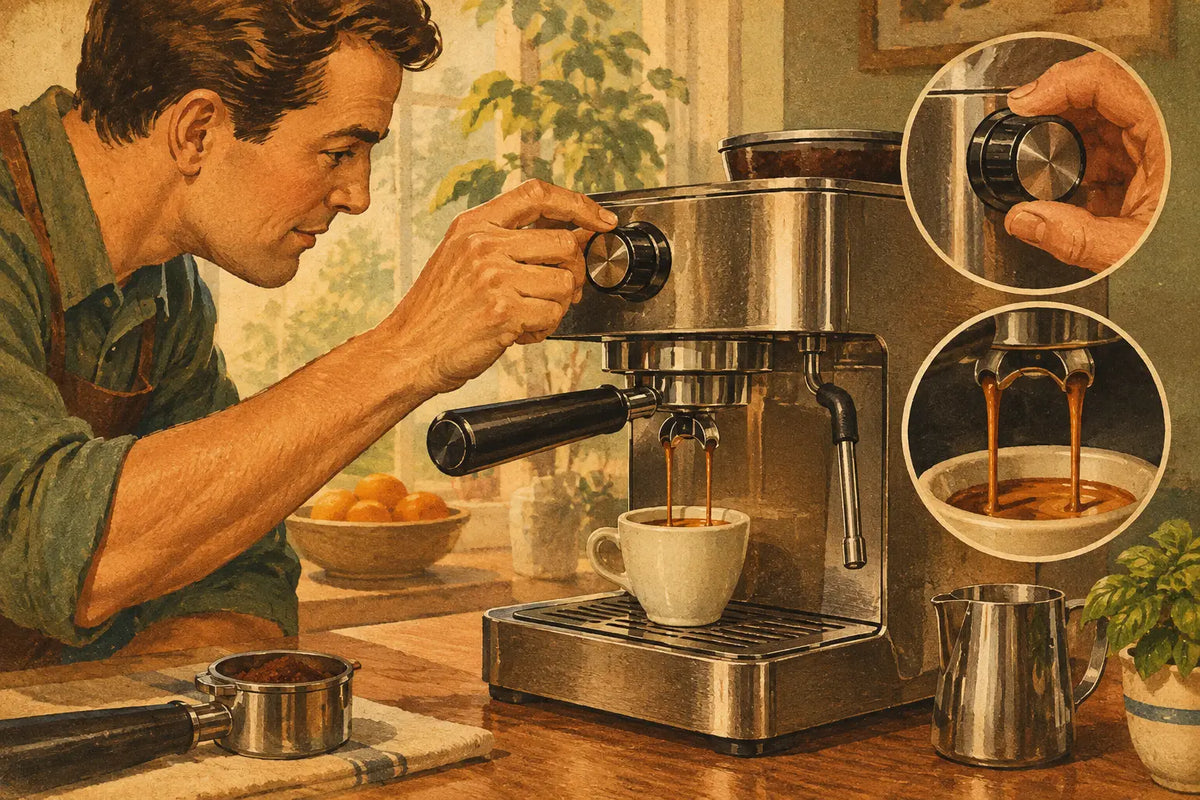
With the portafilter locked in, begin with the valve mostly closed rather than fully open. You want water to enter slowly enough that the puck becomes saturated without an immediate hard push. Depending on the coffee and machine, hold this position until the first drops appear or until you see pressure begin to build steadily.
Next, open the valve smoothly toward full flow. Let the shot develop in the middle as it normally would. This is where most of the extraction happens, so avoid constantly moving the paddle. A stable middle phase makes the shot easier to judge.
As the stream becomes lighter and starts to blond, begin closing the valve a little. The purpose is not to stop the shot indefinitely. You are slowing the final phase to reduce the rush of watery, bitter compounds that can arrive as the puck loses resistance. Stop the shot at your planned yield, not simply when the flow looks attractive.
A useful starting routine is:
- Start mostly closed for a calm 5-10 second preinfusion.
- Open to full or near-full flow until the espresso stream is established.
- Reduce flow slightly during the final third of the shot.
- Stop at the same output weight you used for your baseline recipe.
Read the coffee, not just the paddle position
The best adjustment is usually small. If the first drops arrive too quickly during a gentle start, the grind may be too coarse, the dose may be low, or the puck may have a weak spot. Closing the valve further can hide the symptom, but it will not necessarily fix uneven extraction.
If you see a delayed, syrupy start followed by a sudden blond rush, try opening more decisively after preinfusion or improving puck preparation. A long, restricted phase can over-saturate some coffees and produce a muted, heavy cup. Flow control gives you more options, but it also makes it easier to overwork a shot.
Use taste as the final judge. Bright, sharp sourness usually points to underextraction, though very light roasts can be naturally lively. Dry bitterness, an ashy finish, or a hollow watery tail often means the shot ran too far, too fast at the end, or at too high a temperature. Sweetness, distinct flavor separation, and a lingering finish are signs that your profile is working.
Keep short notes for each coffee: dose, yield, grinder setting, preinfusion time, approximate paddle movement, and taste. You do not need laboratory-level measurements. A few clear notes will tell you far more than trying to remember where the handle was on last week’s bag.
When slower flow helps - and when it does not
Longer preinfusion can be particularly useful with light roasts, dense coffees, and coffees that tend to channel under a full-pressure start. Gentle saturation lets the puck absorb water before it faces full pump pressure. This can bring more sweetness and reduce the sharp, underdeveloped character that sometimes appears in fast light-roast shots.
Medium and darker roasts often need less intervention. They are generally easier to extract, and too much low-flow time can push them toward roast bitterness or a flat texture. For these coffees, a brief preinfusion and a modest end-of-shot reduction may be all that is needed.
Fresh coffee can also behave differently from coffee that has rested longer. Heavy gas release can disrupt early water contact, so a controlled, slower start may help. But if the coffee is already flowing slowly and tasting rich, there is no prize for making the profile more complicated.
Common flow-control mistakes
The most common mistake is treating the gauge as the target. Trying to hold every coffee at a particular pressure can lead to excessive valve movement and inconsistent shots. Think of the gauge as a record of puck resistance and your water delivery, not a scorecard.
Another mistake is leaving the valve nearly closed for the entire shot. This can make a shot look slow and controlled while producing low extraction, weak body, or a strange salty acidity. The middle phase usually needs enough flow to do real extraction work.
Finally, do not neglect the basics. A clean basket, level distribution, thoughtful WDT, a consistent tamp, and a suitable grinder setting still matter more than any profile. Flow control magnifies both good preparation and poor preparation.
Keep the mechanism clean and usable
Coffee oils, mineral scale, and normal wear can affect how smoothly a flow-control assembly moves. Follow your machine manufacturer’s cleaning and maintenance guidance, and never force a paddle or knob that feels stuck. Work on the machine only when it is cool, depressurized, and disconnected from power when appropriate.
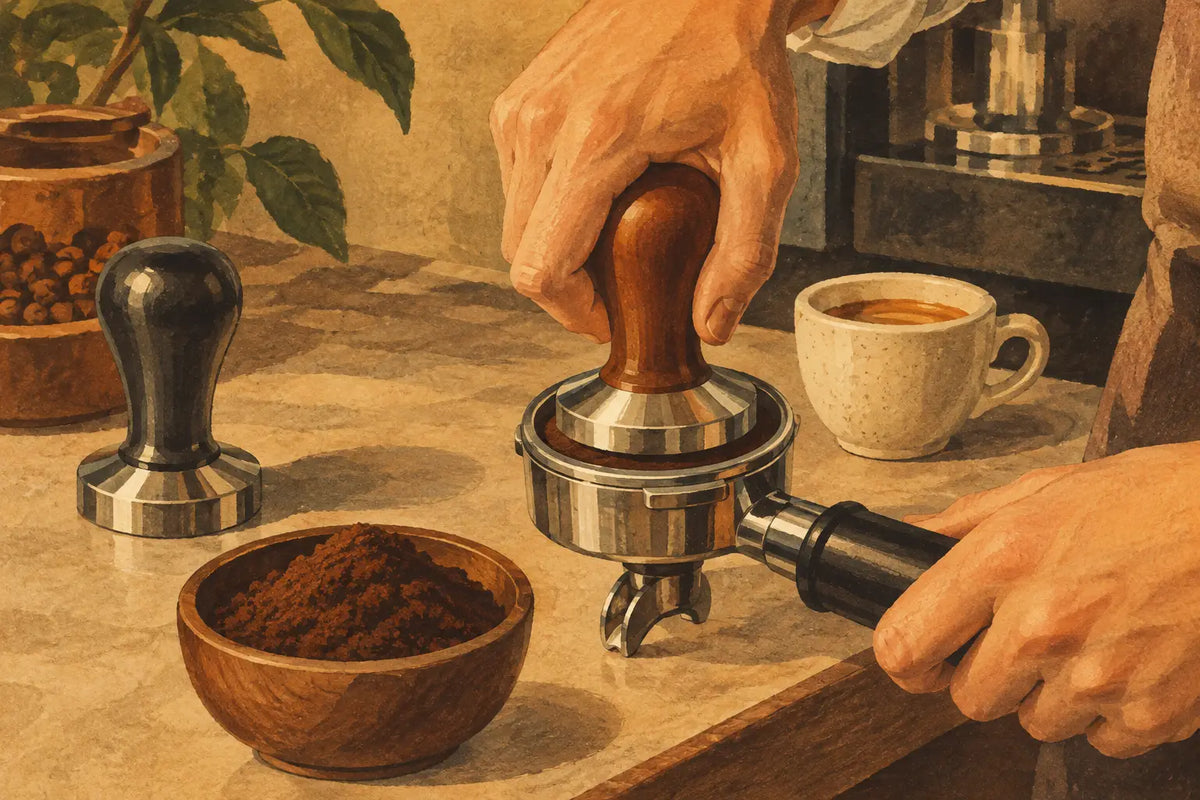
The tactile side matters, too. A well-fitted handle or handcrafted wood knob can make fine adjustments easier because it gives your fingers a more confident, comfortable contact point. That is especially welcome when you are making small changes during a shot rather than swinging a slippery metal tab.
A good profile should feel repeatable, not theatrical. Set up a sound baseline, make one measured adjustment, and let the flavor tell you whether the extra control earned its place in your daily ritual.