Install an Espresso Puck Screen Correctly
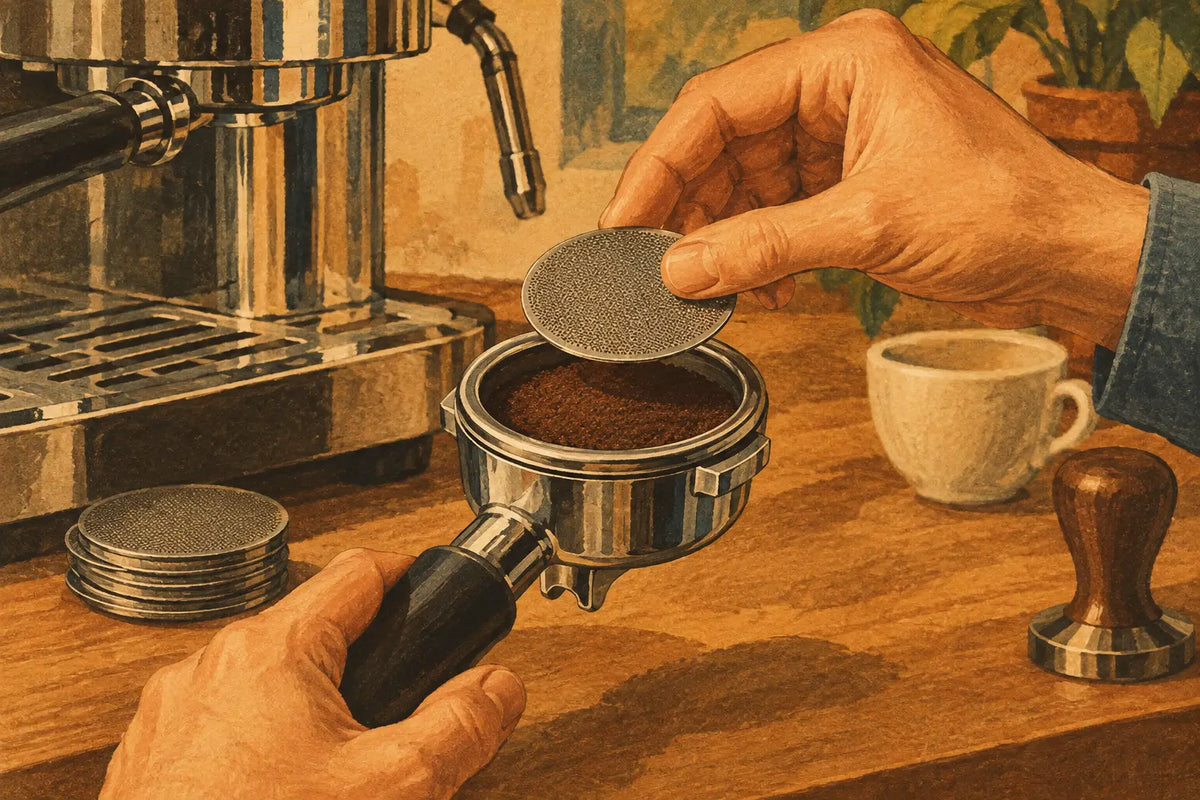
A puck screen is one of those small espresso accessories that can make a tidy setup feel even more dialed in - but only if it fits and is used properly. To install an espresso puck screen correctly, you do not attach it to the group head or force it into the basket. It simply rests flat on top of a prepared coffee bed before you lock in the portafilter.
That sounds simple, and it is. The details matter because a screen that is too thick, too large, bent, or dropped onto an uneven puck can create the very problems it is meant to prevent: poor headspace, messy puck contact, uneven extraction, or a screen stuck to the shower screen after brewing.
What a Puck Screen Actually Does
A puck screen is a thin, perforated stainless steel disc placed between the espresso puck and the machine's shower screen. Its main job is to distribute incoming water more gently across the coffee bed while reducing direct coffee contact with the shower screen.
For many home baristas, the most noticeable benefit is cleanup. After the shot, the shower screen often stays much cleaner, and the spent puck can come out with a more defined top surface. Depending on the coffee, basket, and machine, a screen may also help reduce channeling caused by concentrated water flow at the start of extraction.
It is not a substitute for a good grind setting, fresh coffee, level distribution, or a consistent tamp. Think of it as a finishing tool in an already solid workflow. If a shot is sour, fast, or spraying because the puck was poorly prepared, adding a screen will not repair the underlying issue.
Choose the Right Screen Before You Install It
The first fitment question is diameter. Most common home espresso baskets use a 58 mm screen, but that does not mean every 58 mm screen fits every basket equally. Basket walls taper toward the bottom, and some screens have a slightly larger outer edge than others. A screen should sit flat near the top of the coffee bed without binding against the basket wall.
Thickness matters just as much. Screens are commonly available in ultra-thin options around 0.2 mm and thicker versions around 1.0 to 1.7 mm. A thicker screen can be durable and satisfying to handle, but it takes up more headspace. If you already use a high dose or a shallow basket, it can press into the puck or contact the shower screen too firmly.
Start by matching the screen to your basket rather than choosing solely by portafilter size. A 58 mm machine may use an 18 g, 20 g, or 22 g basket, each with different practical headroom. If you are running a deep, high-capacity basket, a thicker screen is usually easy to accommodate. With a stock double basket and a full dose, an ultra-thin screen often gives you more flexibility.
Check the screen before first use. It should be flat, clean, and free of sharp burrs around the edge. If it rocks on a flat counter, gently inspect it for warping rather than putting it into your basket and hoping pressure will flatten it during a shot.
How to Install an Espresso Puck Screen Correctly
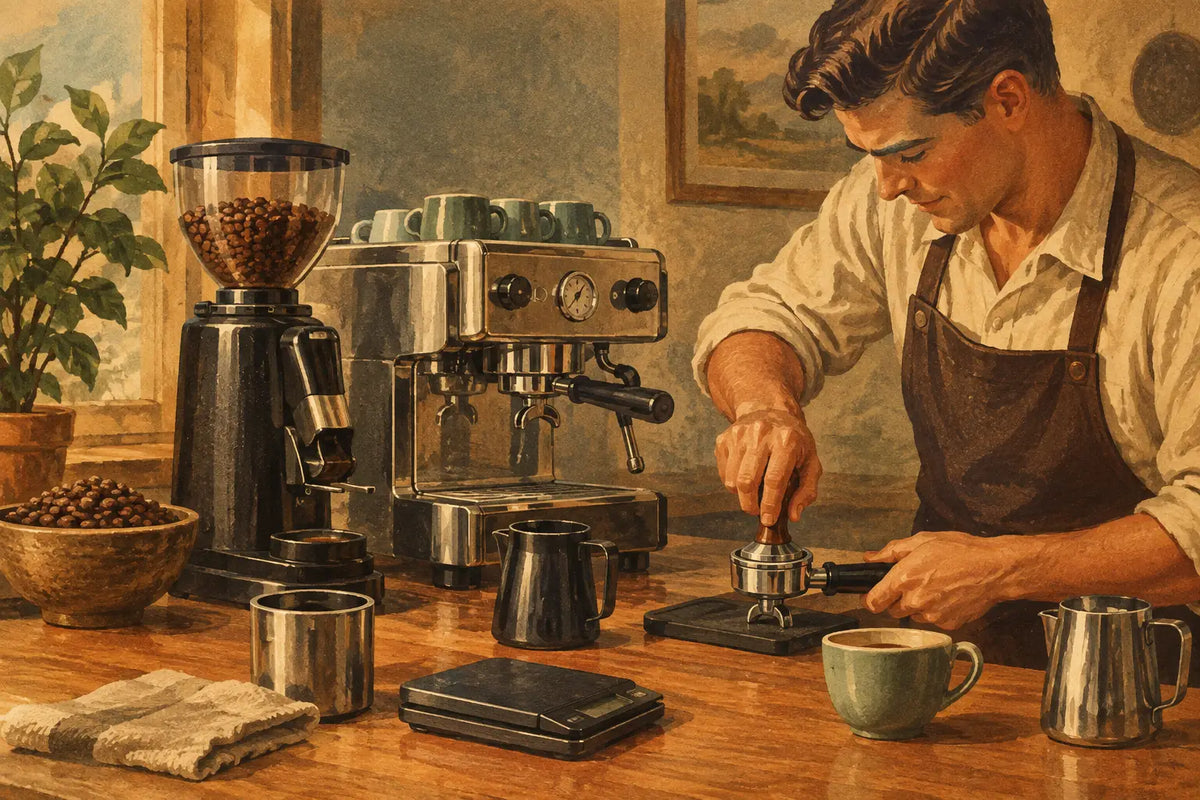
Prepare your espresso exactly as you normally would. Dose into a dry basket, distribute the grounds thoroughly, and tamp level with consistent pressure. The puck screen goes on after tamping, not before. Putting it under the grounds defeats its purpose and can interfere with your dose and distribution.
Hold the clean screen by the edge and lower it onto the tamped coffee bed. Avoid dropping it from above. A hard drop can dent the puck, especially with a finer espresso grind or a lightly tamped preparation. Set it down as level as possible, then give the portafilter a small visual check. The screen should lie flat and should not be tilted, buckled, or wedged at one side.
There is no need to press the screen down. The coffee puck is already tamped. Pressing can crack the surface, compact one area more than another, or leave a fingerprint-shaped impression that encourages uneven flow. Let the screen rest naturally on the puck.
Lock the portafilter into the group head with your usual motion. A small increase in resistance can be normal, particularly when you first add a thicker screen. Excessive resistance is a sign to stop and reassess. Do not force the portafilter into place, especially on machines with a snug gasket or a bottomless portafilter setup you use to diagnose extraction.
Start the shot as usual. Once brewed, wait a moment after the pump stops before removing the portafilter. This gives pressure time to release and can reduce suction that occasionally causes a puck screen to remain attached to the shower screen.
A Quick Headspace Check
Headspace is the gap between the top of your prepared puck setup and the shower screen. When a puck screen is added, that gap becomes smaller. Too little space can cause the screen to leave a deep imprint before brewing starts, compress the puck unevenly, or make portafilter engagement unnecessarily tight.
A light impression after a shot is not automatically a problem. Coffee expands during extraction, and some contact is normal. The concern is a clear, deep pre-infusion imprint or strong resistance when locking in the portafilter before brewing.
If that happens, reduce your dose by about 0.5 to 1 gram, use a thinner screen, or move to a basket with more capacity. Reducing dose is often the easiest first adjustment, but it may require a small grind change to preserve your target shot time and yield.
Common Puck Screen Mistakes
The most common mistake is treating the screen as an automatic upgrade. It changes the available basket volume, so the dose that worked perfectly without one may no longer be ideal. A screen does not need a new recipe every time, but it does deserve a quick dial-in check.
Another issue is using a dirty screen. Fine coffee particles and oils collect inside the perforations over time. When the holes clog, water flow can become less consistent. Rinse the screen after every shot, and clean it regularly with espresso machine detergent according to the detergent instructions.
Do not use a puck screen as a reason to skip flushing and cleaning the group head. It reduces mess, but it cannot eliminate coffee oils entirely. Keep the shower screen, basket, portafilter, and gasket in your regular maintenance routine.
Also resist the urge to stack screens or add improvised metal discs to solve a messy puck. That takes away even more headspace and can create unpredictable pressure and flow behavior. If your current screen is not delivering the result you want, inspect your puck preparation and confirm that the screen thickness matches your basket.
If the Screen Sticks or the Shot Changes
A screen that sticks to the shower screen is usually caused by suction after the shot, a very wet puck, or a screen with coffee oils creating extra adhesion. Let the portafilter sit briefly before removing it, then use a clean tool or the edge of a spoon to carefully lift the screen away. Do not pry aggressively against the basket wall.
If shots suddenly run slower after adding a screen, start with headspace and puck prep. A smaller available brew chamber can change how the puck swells and how water enters it. Try lowering the dose slightly before making a major grind adjustment. If shots run faster or look less even, make sure the screen is seated flat and that your distribution is still level underneath it.
The screen may also expose inconsistencies that were already present. A bottomless portafilter is useful here: if you see channeling, revisit WDT technique, tamp level, coffee freshness, and grind rather than blaming the accessory first.
Make It Part of a Repeatable Workflow
The best puck screen routine is simple enough to repeat without slowing down your morning coffee. Prepare the puck, set the screen gently on top, brew, remove the screen, rinse it, and leave it where it can dry. A dosing funnel and a well-made WDT tool can make the steps before tamping cleaner and more consistent, while the puck screen keeps the final contact point at the group head tidier.
For enthusiasts building a personalized station, small workflow details are where handcrafted upgrades earn their place. A portafilter handle that feels right, a matching tamper station, and accessories sized for the machine you actually own can make the routine more enjoyable without distracting from the cup.
Use the puck screen as a clean, practical layer in your process, not a mystery fix. Once its thickness, fit, and headspace are right, it becomes one less thing to think about - and one more reason your espresso station stays ready for the next shot.