Lelit Steam Knob Replacement Fitment Guide
A loose, cracked, or uncomfortable steam knob changes a small part of your espresso routine that you use constantly. A proper Lelit steam knob replacement can restore confident control at the steam valve while giving your machine a more personal, finished look. The key is not simply finding a knob that looks right. It is confirming how your specific Lelit model and production version attach the knob to the valve shaft.
For a machine that sees daily milk drinks, the steam knob needs to feel secure, stay comfortable in hand, and operate without slipping. Those details matter most when you are opening the valve with one hand while holding a milk pitcher with the other.
Why Replace a Lelit Steam Knob?
There are two common reasons to replace a steam knob: the original part is damaged or its feel no longer suits your workflow. Plastic can become marked, glossy, or cracked over years of use. A knob may also loosen at its mounting point, especially if it has been repeatedly overtightened or removed during maintenance.
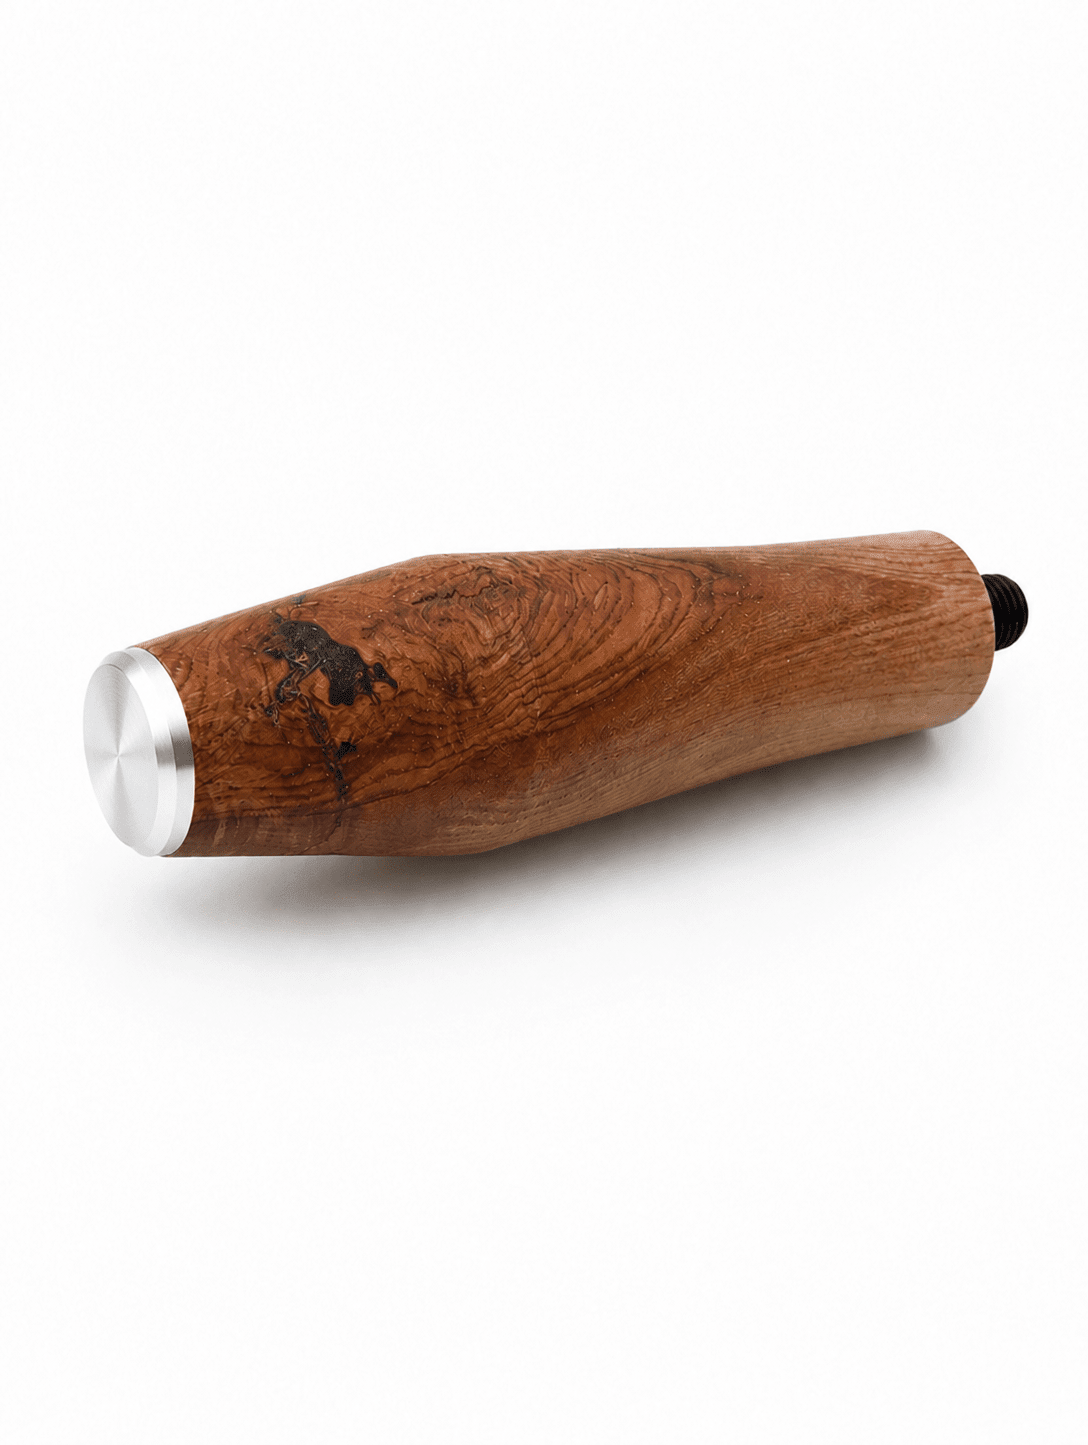
A replacement can also be a purposeful upgrade. Many prosumer owners want a warmer tactile material, a more substantial shape, or a finish that ties together their portafilter handle, grinder accents, and other coffee-station details. Wood, in particular, brings a handcrafted character that changes the visual balance of a stainless-steel machine without changing how the steam valve functions.
Function still comes first. A beautiful knob that does not match the shaft, sits too close to the machine body, or interferes with valve travel is not an upgrade. Fitment is the first job.
Lelit Steam Knob Replacement: Check Fitment First
Lelit has produced several machine families, and details can vary between models and revisions. Do not assume that a knob listed for one Lelit machine will install correctly on another simply because the machines share a similar front-panel design. The attachment method, shaft profile, mounting depth, and clearance around the valve can differ.
Before ordering, identify your exact machine model and, when possible, its production year or version. A clear photo of the existing knob from the front and side is useful. If you have already removed it, a photo of the exposed valve shaft is even better. This lets a parts maker check the connection rather than making a guess from the machine name alone.
Confirm these four points before choosing a replacement:
- The knob's mounting method, such as a retaining screw, set screw, or another model-specific connection.
- The valve shaft shape and dimensions, including any flat section or splines.
- The depth available between the front panel and the knob face.
- Clearance for your hand, adjacent controls, and full opening and closing movement.
For customized pieces, sending measurements and photos before production is worth the extra minute. NepoCoffee works from machine-specific details because handcrafted accessories should fit the machine they are made for, not ask the owner to modify a premium espresso machine to make them work.
Remove the Old Steam Knob Safely
Treat the steam side of an espresso machine with respect. Steam valves connect to a heated, pressurized system, so replacement work starts only after the machine is fully cool.
Turn the machine off, unplug it, and allow it to cool completely. Open the steam valve briefly only when it is safe to do so and the machine has cooled, to confirm there is no remaining pressure. Do not work around a hot boiler, hot wand, or recently used valve.
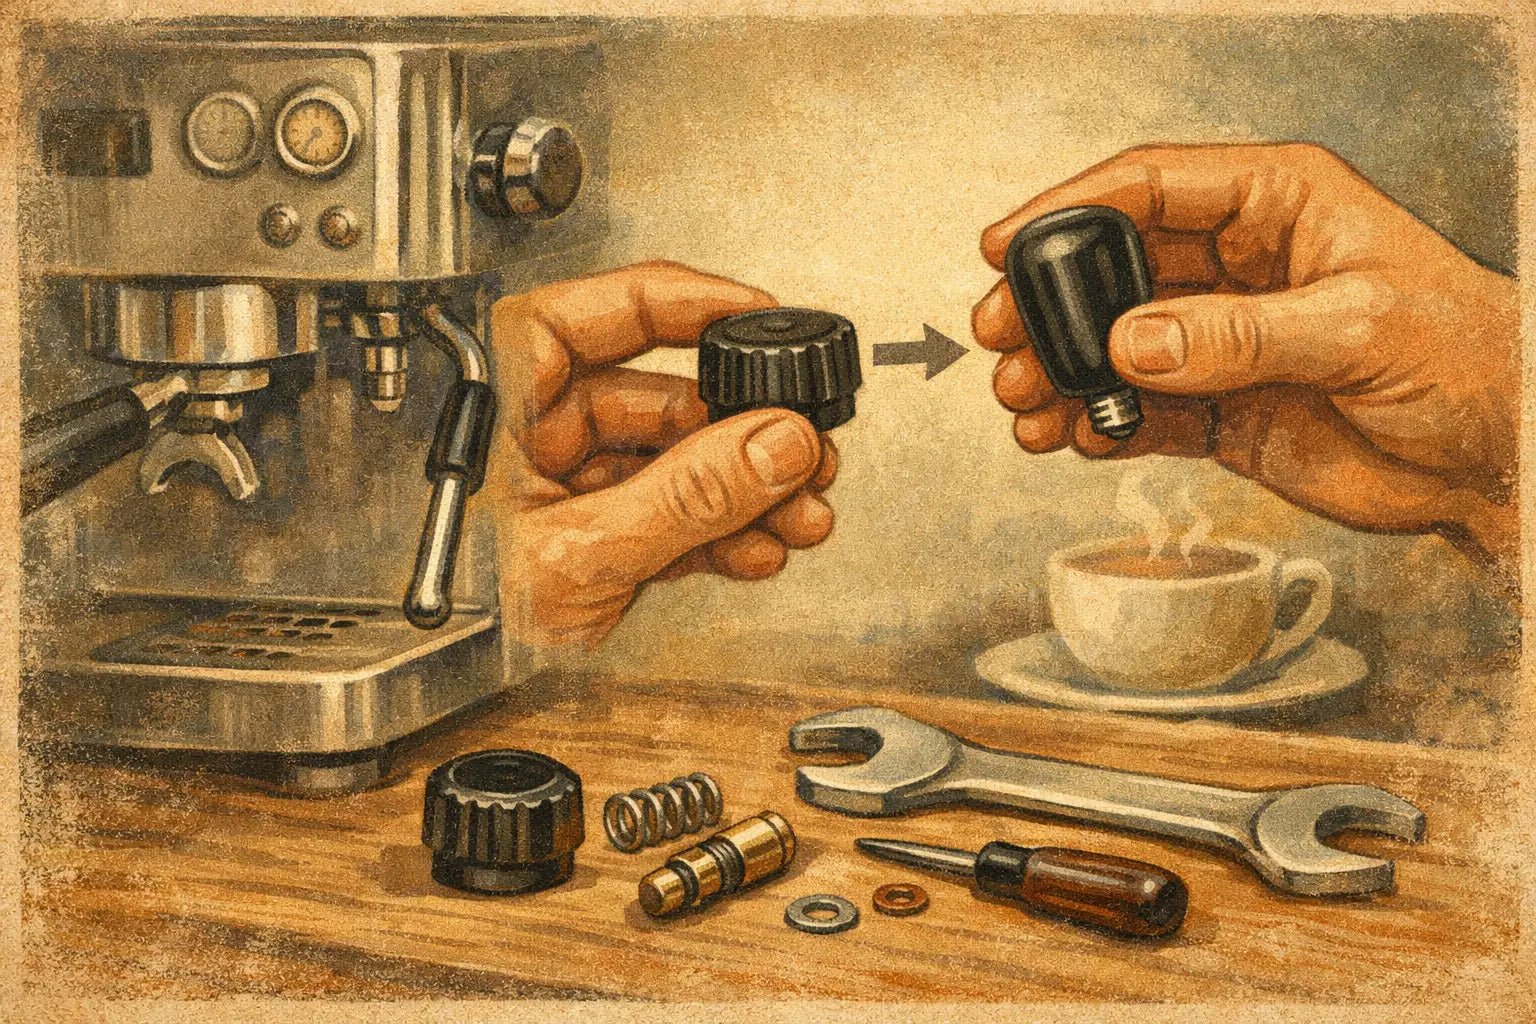
Next, inspect the existing knob before pulling on it. Look for a visible fastener on the side, underside, or front face. Some fasteners may be hidden behind a small cap or decorative insert. Use a correctly sized tool and keep steady pressure so you do not strip the screw head.
Once the fastener is released, pull the knob straight away from the machine where the design allows. Gentle, even movement is better than twisting hard or prying against the front panel. If the knob seems stuck, stop and inspect it again. A hidden screw, accumulated residue, or an attachment design you have not identified can make removal feel harder than it should.
Do not use the steam wand as leverage, and do not grip the exposed valve shaft with pliers. The shaft and valve assembly are precision working parts. A cosmetic replacement should never create a valve repair.
Inspect the Valve While the Knob Is Off
With the old knob removed, take a moment to inspect the exposed area. Wipe away coffee oils, dust, or residue with a clean, dry cloth. Check that the shaft is straight and that the valve turns normally by hand only if the machine design permits it.
A replacement knob will not cure a steam valve that leaks, binds, spins freely without controlling flow, or fails to close properly. Those symptoms point to internal valve wear, seals, or a mechanical issue that needs separate attention. Replacing the exterior knob is still worthwhile, but it should follow the repair rather than hide the problem.
Choosing the Right Replacement Material and Shape
The right material depends on how you use the machine and what you want from the upgrade. A quality wood knob offers a comfortable natural grip and a distinct visual contrast against polished steel. It also pairs especially well with wooden portafilter handles, tamper stations, or grinder trays.
Because a steam valve sits near heat, a handcrafted wooden knob should be built and finished for coffee-equipment use. The material needs appropriate shaping, a secure internal connection, and a finish that holds up to normal kitchen humidity and occasional wiping. Like any natural material, wood can show character over time. That is part of its appeal, but it also means it should not be soaked or cleaned with harsh chemicals.
Shape matters as much as material. A larger profile can offer more leverage and a more relaxed grip, but an oversized knob may look out of proportion or reduce clearance near other controls. A compact profile keeps the original machine silhouette, though it may offer less purchase for users who prefer a fuller grip.
Think about how you steam milk. If you frequently make several drinks back to back, prioritize a shape that is easy to locate and turn with damp hands. If your machine is a centerpiece in a carefully matched coffee bar, consider the grain, color, and finish alongside your other accessories. The best choice does both jobs.
Installing the New Knob Without Overdoing It
Installation should be straightforward once fitment is confirmed. Align the replacement with the valve shaft exactly as intended, then seat it fully without forcing it. If the knob uses a screw, tighten it only enough to secure the part and prevent movement during normal use.
Overtightening is a common mistake. It can strip a small fastener, stress a wooden component, or make future service harder. After installation, turn the knob through its normal range while the machine is still off and cool. It should feel secure, clear the front panel, and move without rubbing.
When you next use the machine, test the valve gently at operating temperature. Watch for smooth control and confirm that the knob remains firmly attached. If something feels misaligned, loose, or unusually stiff, stop and reassess the fit rather than forcing the valve.
When a Knob Replacement Is Not the Whole Fix
A new knob solves an exterior-part problem. It does not solve steam leaks from the valve body, a persistent drip from the wand, or a valve that requires excessive force to operate. Those issues can indicate worn seals, mineral buildup, or internal components that need attention.
It also depends on the reason the original knob failed. If a knob broke after a drop or during disassembly, the valve may be perfectly fine. If it cracked because the valve has become difficult to turn, investigate the resistance before installing your new piece. A smooth valve protects both the new knob and your daily workflow.
A well-fitted steam knob is a small upgrade with an outsized presence. It is one of the first controls you touch when making a cappuccino or flat white, so choose a replacement that respects the details of your Lelit machine and makes every turn feel intentional.