How to Refinish Wooden Knobs on Espresso Machines
A wooden steam knob or brew lever can make an espresso machine feel personal in a way polished chrome never quite does. But daily contact, steam, cleaning spray, and the occasional espresso spill eventually leave their mark. When you refinish wooden knobs, the goal is not to make them look plastic-perfect. It is to restore a smooth, comfortable surface while preserving the fit, shape, and character that made the wood worth choosing in the first place.
For most home espresso owners, this is a manageable workshop project. The details matter, though. A knob that is sanded too aggressively can become loose around its insert, and a finish that feels great on a coffee table may not hold up beside a hot steam boiler.
Before You Refinish Wooden Knobs, Check the Hardware
Remove the knob from the machine before sanding or applying any finish. This protects the machine’s stainless panels, keeps finish away from internal hardware, and lets you inspect the attachment point properly. Depending on the machine, your wooden piece may thread onto a shaft, slide over a splined fitting, use a grub screw, or mount around a brass insert.
Take a few clear photos before removal, especially if the orientation of the knob matters. On steam and hot-water controls, note how far the knob sits from the front panel and whether there is a small set screw hidden on the side or underside. Keep screws, washers, and inserts together in a labeled container.
Do not force a stuck knob. Heat, mineral buildup, or an overtightened set screw can make removal feel harder than it should. A gentle twist is fine. Prying against the machine face is not. If the piece will not release, identify the retention method first or ask the maker for model-specific guidance.
It is also worth checking whether the knob is solid wood, veneered wood, or a wood sleeve over a metal core. Most quality espresso accessories are solid hardwood, but the restoration approach changes if the surface is a thin veneer. Veneer should be cleaned and lightly refreshed, not deeply sanded.
Decide Whether It Needs Cleaning or a Full Refinish
Not every dull knob needs to be stripped. Oil from hands can darken wood, while soap residue can make a once-satin finish look cloudy. Start with the least aggressive approach: wipe the knob with a soft cloth barely dampened with warm water and a small amount of mild dish soap. Dry it immediately and let it sit for several hours.
If the wood looks clean but thirsty, a light maintenance coat may be enough. If the finish is peeling, the surface feels rough, the color is blotchy, or there are deep water marks, a fuller refinish is the better move.
Steam knobs deserve extra attention. They live near heat and humidity, and they are often touched with damp hands. A finish that works beautifully on a portafilter handle may need more frequent maintenance on a steam control. That is normal, not a sign that the wood or the machine part is poor quality.
Gather simple, purpose-built supplies
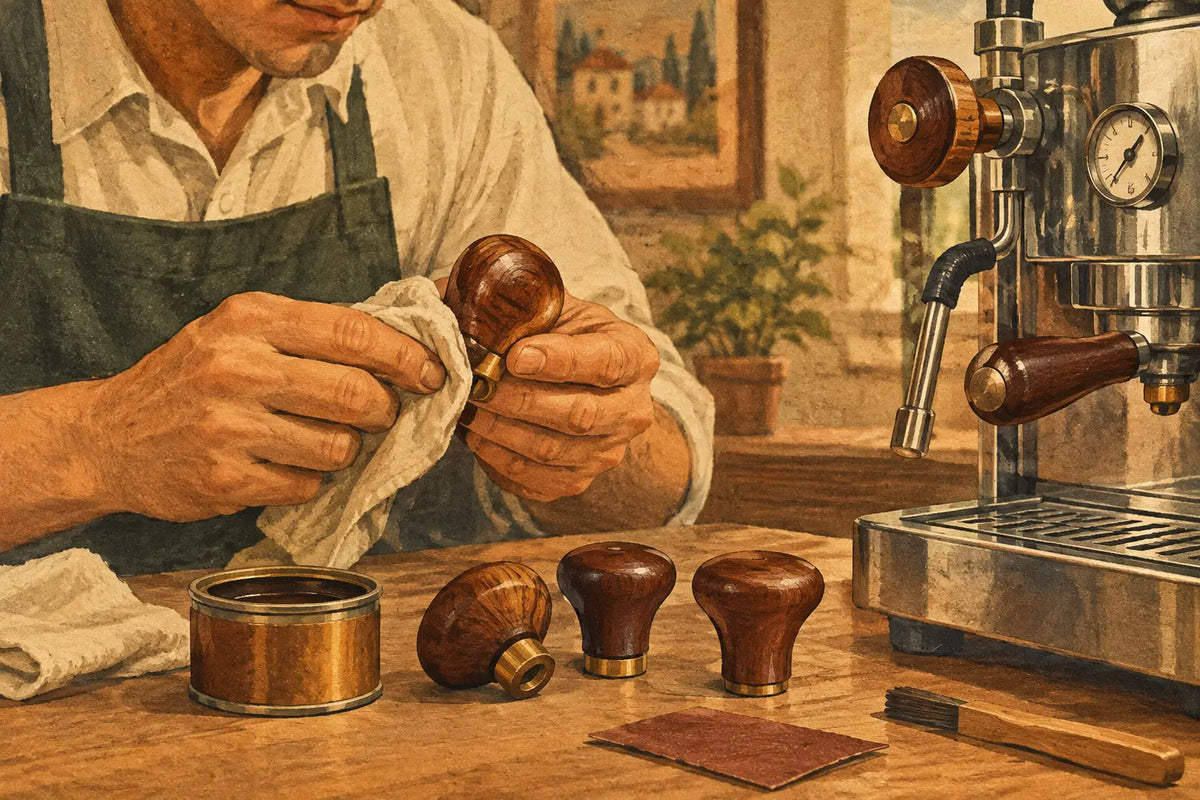
You do not need a crowded finishing bench. For most wooden espresso knobs, prepare the following:
- Mild dish soap, soft cloths, and lint-free rags
- Sandpaper in 320, 400, and 600 grit
- A small sanding block or firm foam pad
- A finish suited to frequently handled wood, such as hardwax oil or a quality wiping varnish
- Nitrile gloves and a clean, dust-free place for curing
Sand Gently and Protect the Fit
The right sanding approach is controlled, not aggressive. Start with 320 grit only if the existing coating is visibly worn, chipped, or uneven. Sand with the grain using light pressure. Your job is to level the old surface, not reshape the knob.
Stay away from the mounting hole, threaded section, splines, and metal insert. Sanding these areas can alter the fit enough to create wobble or make the part sit crooked on the machine. If the knob has a metal insert, mask it with painter’s tape before sanding the surrounding wood.
Move to 400 grit once the surface is even, then use 600 grit for a refined feel. Wipe dust away between grits with a dry lint-free cloth. Do not soak bare wood with water to raise the grain unless you are prepared to sand it again. On a small, shaped espresso knob, that extra swelling is usually unnecessary.
Deep dents require judgment. A small mark is often part of a well-used coffee bar. Chasing every imperfection can flatten edges and erase the hand-shaped profile. For a dent that catches your fingernail, sand only enough to soften its edge. If the damage is near a critical mounting area, replacement may be smarter than repair.
Choose a Finish That Feels Good in Daily Use
For an espresso machine knob, feel matters as much as appearance. The surface should be smooth without becoming slippery, and it should stand up to repeated handling. There are two practical directions.
Hardwax oil gives wood a natural, low-build look and a warm touch. It is easy to renew later, which makes it a strong choice for enthusiasts who enjoy maintaining their gear. Apply an extremely thin coat, work it into the grain, then wipe away every trace of excess. Thick oil left on the surface can cure gummy, especially in grooves and around inserts.
A wiping varnish or satin polyurethane creates a more protective film and may last longer around moisture. The trade-off is that repair is less invisible. If it chips, you will typically need to sand and recoat a larger area. Choose a satin finish rather than high gloss if you want a factory-clean look that still lets the grain read naturally.
Mineral oil can temporarily enrich color, but it is not a durable finish for a steam knob. It does not cure, so heat and frequent cleaning can leave the wood looking dry again quickly. It is better as a short-term conditioner than a long-term answer.
Whatever finish you choose, keep it off threaded hardware and inside mounting bores. A finish buildup inside a knob can affect fit, trap moisture, or make future removal frustrating.
Apply Thin Coats and Let Them Cure Fully
Apply finish with a folded lint-free cloth, following the grain. On a small part, less is almost always better. Work in a thin coat, allow it to penetrate or flash according to the product instructions, and wipe the surface until it feels nearly dry to the touch.
Let the knob cure in a clean indoor space away from coffee steam, direct sun, and dust. Dry and cured are not the same thing. A finish may feel dry in a few hours but remain soft enough to pick up fingerprints or bind against hardware for several days.
For oil-based finishes, two or three very thin coats generally produce a better result than one heavy coat. Lightly scuff between coats with 600-grit paper only if the finish instructions call for it or the surface feels rough. Let the final coat cure fully before reinstalling the knob.
Dispose of oily rags safely. Some drying oils can generate heat as they cure when rags are bunched together. Lay used rags flat to dry in a safe nonflammable area, or follow the finish manufacturer’s disposal guidance.
Reinstall Without Over-Tightening
Once cured, reinstall the knob carefully. Start threads by hand to avoid cross-threading. If your knob uses a set screw, tighten it only enough to prevent movement. Over-tightening can mar a shaft, crack wood around an insert, or make a future replacement much harder.
Test the control through its full range before pulling a shot. A steam knob should turn freely without rubbing the machine panel. A brew or flow-control knob should sit squarely and maintain its original clearance. If it feels tight after refinishing, inspect for finish buildup around the mounting point rather than forcing it into place.
Keep the Restored Wood Looking Right
Wipe wooden controls with a dry or barely damp cloth after cleaning the machine. Do not spray cleaner directly onto the knob, and do not leave a soaked towel draped over a steam control. A quick wipe after descaling or a messy milk session prevents most finish damage before it starts.
How often you refresh the finish depends on use, wood species, and location. A portafilter handle may only need attention every year or two. A frequently used steam knob in a busy home bar may appreciate a light renewal coat sooner. If the grain begins to feel dry but the finish is intact, clean it first and add a thin maintenance coat rather than sanding from scratch.
A well-restored knob should still look like wood, not like a coated decoration. If your original part is cracked, loose at the insert, or no longer suits your machine’s setup, a correctly fitted replacement is often the better upgrade. NepoCoffee can help espresso owners match a handcrafted wood component to the details that matter: model fitment, hardware style, workflow, and the look of the whole coffee station.